Load-balancing in AWS
What is Load Balancing?
Load balancing is a technique that distributes network or application traffic across several servers. This can improve performance, reliability, and availability.
Load balancers work by receiving requests from clients and then routing them to one of the servers in the pool. The load balancer uses a variety of factors to determine which server to send a request to, such as the server’s load, availability, and health.
In Amazon EC2, Elastic Load Balancing (ELB) is the load balancing service provided by AWS.
Elastic Load Balancing
Elastic Load Balancing automatically distributes your incoming traffic across multiple targets, such as EC2 instances, containers, and IP addresses, in one or more Availability Zones.
It monitors the health of its registered targets, and routes traffic only to the healthy targets.
Elastic Load Balancing scales your load balancer capacity automatically in response to changes in incoming traffic.
How does Elastic Load Balancing work?
Clients make requests to your application.
The listeners in your load balancer receive requests matching the protocol and port that you configure.
The receiving listener evaluates the incoming request against the rules you specify, and if applicable, routes the request to the appropriate target group. You can use an HTTPS listener to offload the work of TLS encryption and decryption to your load balancer.
Healthy targets in one or more target groups receive traffic based on the load-balancing algorithm, and the routing rules you specify in the listener.
The benefits of load balancing:
Improved performance: Load balancing can improve performance by distributing traffic across multiple servers. This can help to reduce latency and improve response times.
Increased reliability: Load balancing can increase reliability by ensuring that no single server is overloaded. If one server goes down, the load balancer can redirect traffic to the remaining servers.
Improved availability: Load balancing can improve availability by ensuring that your applications are always available. If one server goes down, the load balancer can redirect traffic to the remaining servers.
ELB can be created, accessed, and managed by using AWS Management Console, AWS Command Line Interface, AWS SDKs, and Query API.
Elastic Load Balancing supports the following types of load balancers:
Application Load Balancers
Network Load Balancers
Gateway Load Balancers
Classic Load Balancers
There is a key difference in how the load balancer types are configured:
With Application Load Balancers, Network Load Balancers, and Gateway Load Balancers, you register targets in target groups, and route traffic to the target groups.
With Classic Load Balancers, you register instances with the load balancer.
Cross-zone load balancing
The nodes for your load balancer distribute requests from clients to registered targets.
When cross-zone load balancing is enabled, each load balancer node distributes traffic across the registered targets in all enabled Availability Zones.
When cross-zone load balancing is disabled, each load balancer node distributes traffic only across the registered targets in its Availability Zone.
With Application Load Balancers, cross-zone load balancing is always enabled at the load balancer level.
At the target group level, cross-zone load balancing can be disabled.
With Network Load Balancers and Gateway Load Balancers, cross-zone load balancing is disabled by default. After you create the load balancer, you can enable or disable cross-zone load balancing at any time.
When you create a Classic Load Balancer, the default for cross-zone load balancing depends on how you create the load balancer. With the API or CLI, cross-zone load balancing is disabled by default. With the AWS Management Console, the option to enable cross-zone load balancing is selected by default.
Now let us understand the different types of ELB provided by AWS:
Application Load Balancer
Here is the official documentation of the Application Load Balancer.
ALB Functions at the application layer, the seventh layer of the Open Systems Interconnection (OSI) model.
It intelligently distributes incoming HTTP and HTTPS traffic to target instances, containers, or IP addresses based on the rules and configurations set by the user.
Network Load Balancer
Here is the official documentation of the Network Load Balancer.
NLB functions at the fourth layer of the Open Systems Interconnection (OSI) model. It can handle millions of requests per second.
NLB operates at the transport layer (Layer 4) of the OSI model and is designed to handle TCP, UDP, and TLS traffic.
It is highly scalable, offers low latency, and is suitable for applications that require high performance and extreme scalability.
Gateway Load Balancer
Here is the official documentation of the Gateway Load Balancer.
A Gateway Load Balancer operates at the third layer of the Open Systems Interconnection (OSI) model, the network layer.
It listens for all IP packets across all ports and forwards traffic to the target group that’s specified in the listener rule.
It maintains the stickiness of flows to a specific target appliance using a 5-tuple (for TCP/UDP flows) or 3-tuple (for non-TCP/UDP flows).
Classic Load Balancer
Here is the official documentation of the Classic Load Balancer.
CLB operates at both the application layer (Layer 7) and transport layer (Layer 4) of the OSI model and is ideal for applications that require basic load-balancing features.
CLB provides basic load-balancing capabilities for distributing incoming traffic across multiple Amazon EC2 instances.
Here is the link which gives the product differentiation and pricing of the different ELBs provided by AWS.
task 01 :
launch 2 EC2 instances with an Ubuntu AMI and use User Data to install the Apache Web Server.
Modify the index.html file to include your name so that when your Apache server is hosted, it will display your name also do it for 2nd instance which include " TrainWithShubham Community is Super Aweasome :) ".
Copy the public IP address of your EC2 instances.
Open a web browser and paste the public IP address into the address bar.
You should see a webpage displaying information about your PHP installation.
Create two EC2 instances with the following details:
Name: Apache-Server
Application and OS Images (Amazon Machine Image): Ubuntu AMI
Instance type: t2.micro
Key pair (login): Select the key pair you want.
Network Settings: Check the boxes “Allow HTTPS traffic from the Internet” & “Allow HTTP traffic from the Internet”
Advanced details:
Scroll down to the User data box and type these commands:
COPY
COPY
#!/bin/bash
sudo apt-get update -y
sudo apt-get install apache2 -y
sudo systemctl start apache2
sudo systemctl enable apache2
Number of instances: 2
Click on Launch Instance. Once the instances are created rename them with numbers so you can easily identify the servers.

To modify the index.html file, we need to modify its content in the directory /var/www/html.
Let’s connect to Apache-Server-1.
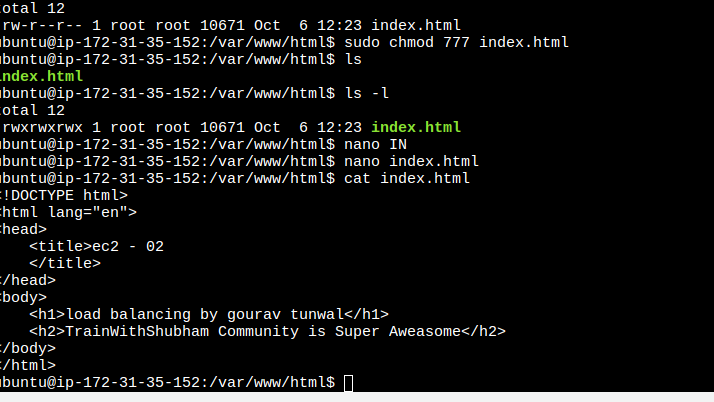
The directory /var/www/html exists. Let’s modify the index.html file.
Give the index.html file root user privilege.
sudo chmod +x index.html
Copy the Public IP of the instance and paste it into the browser. You should be able to see the the html content
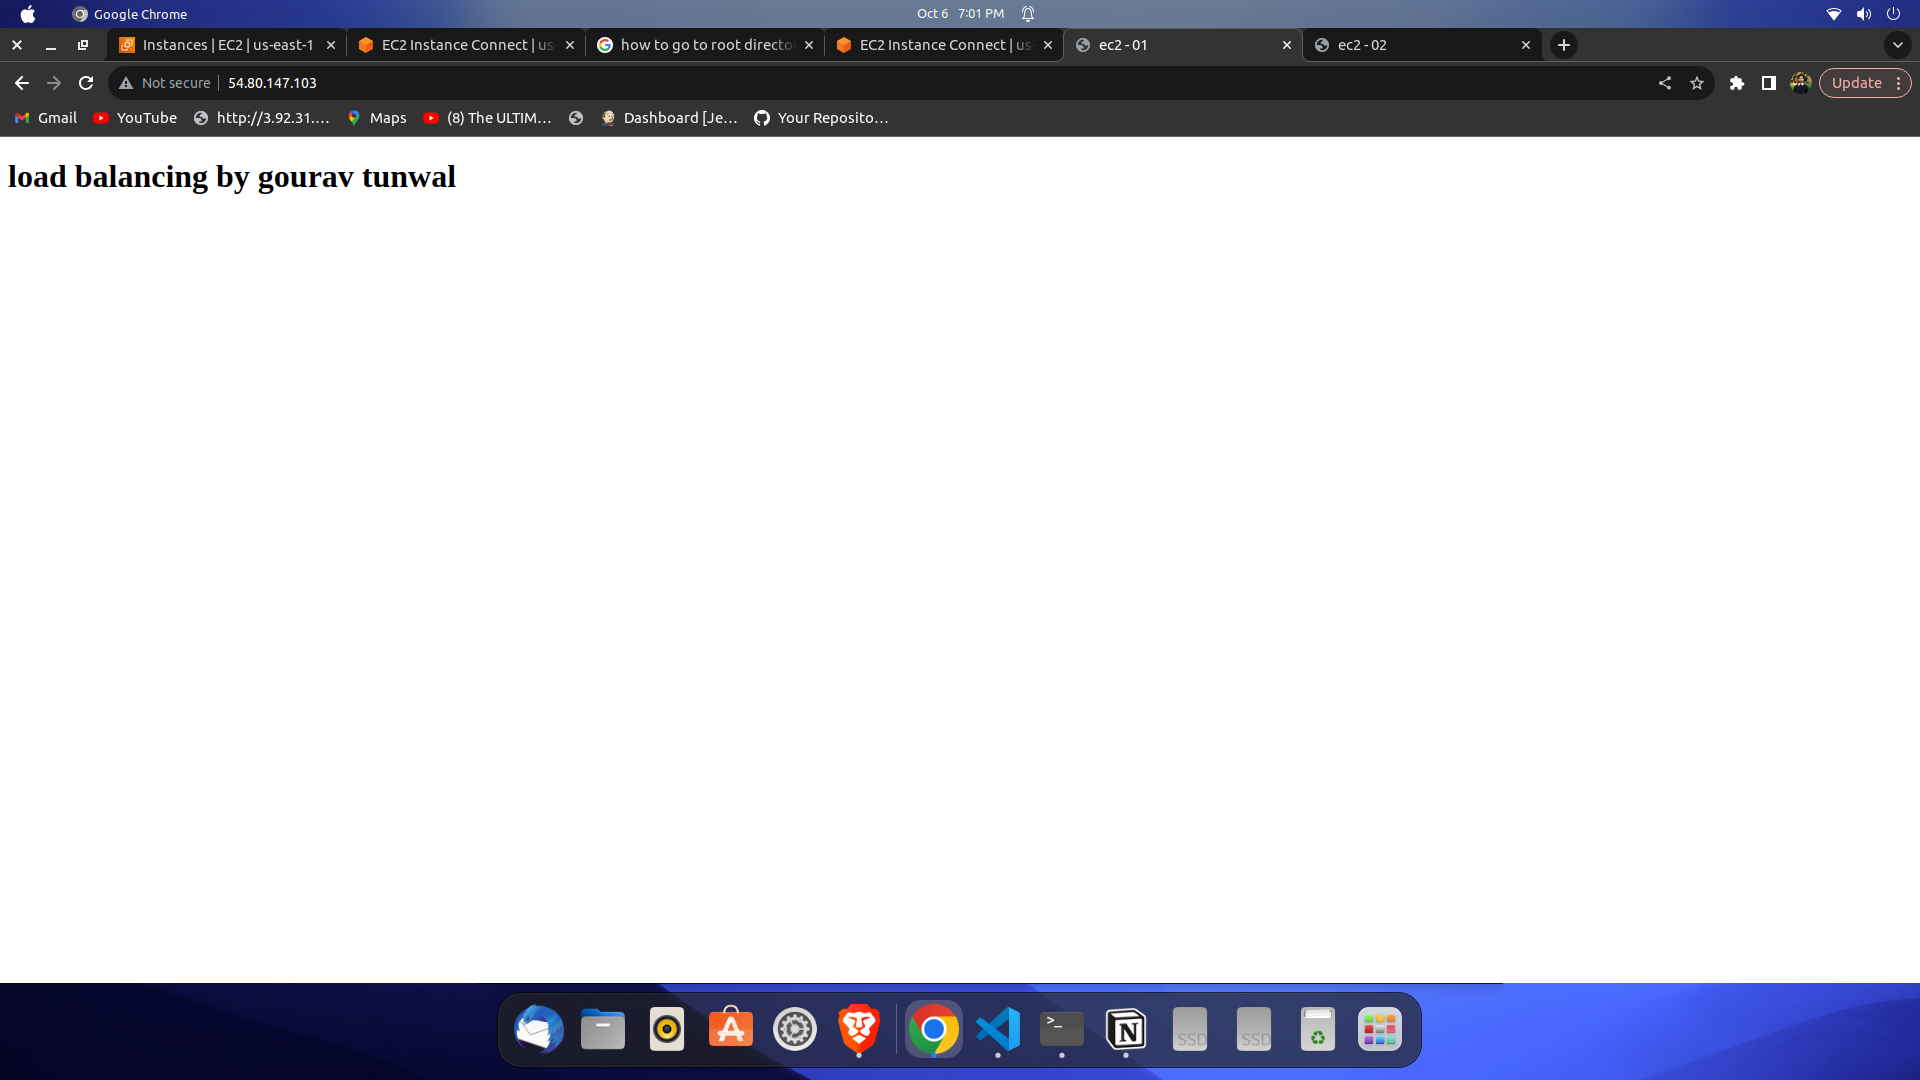
Do the same for the second instance also. and check it out also
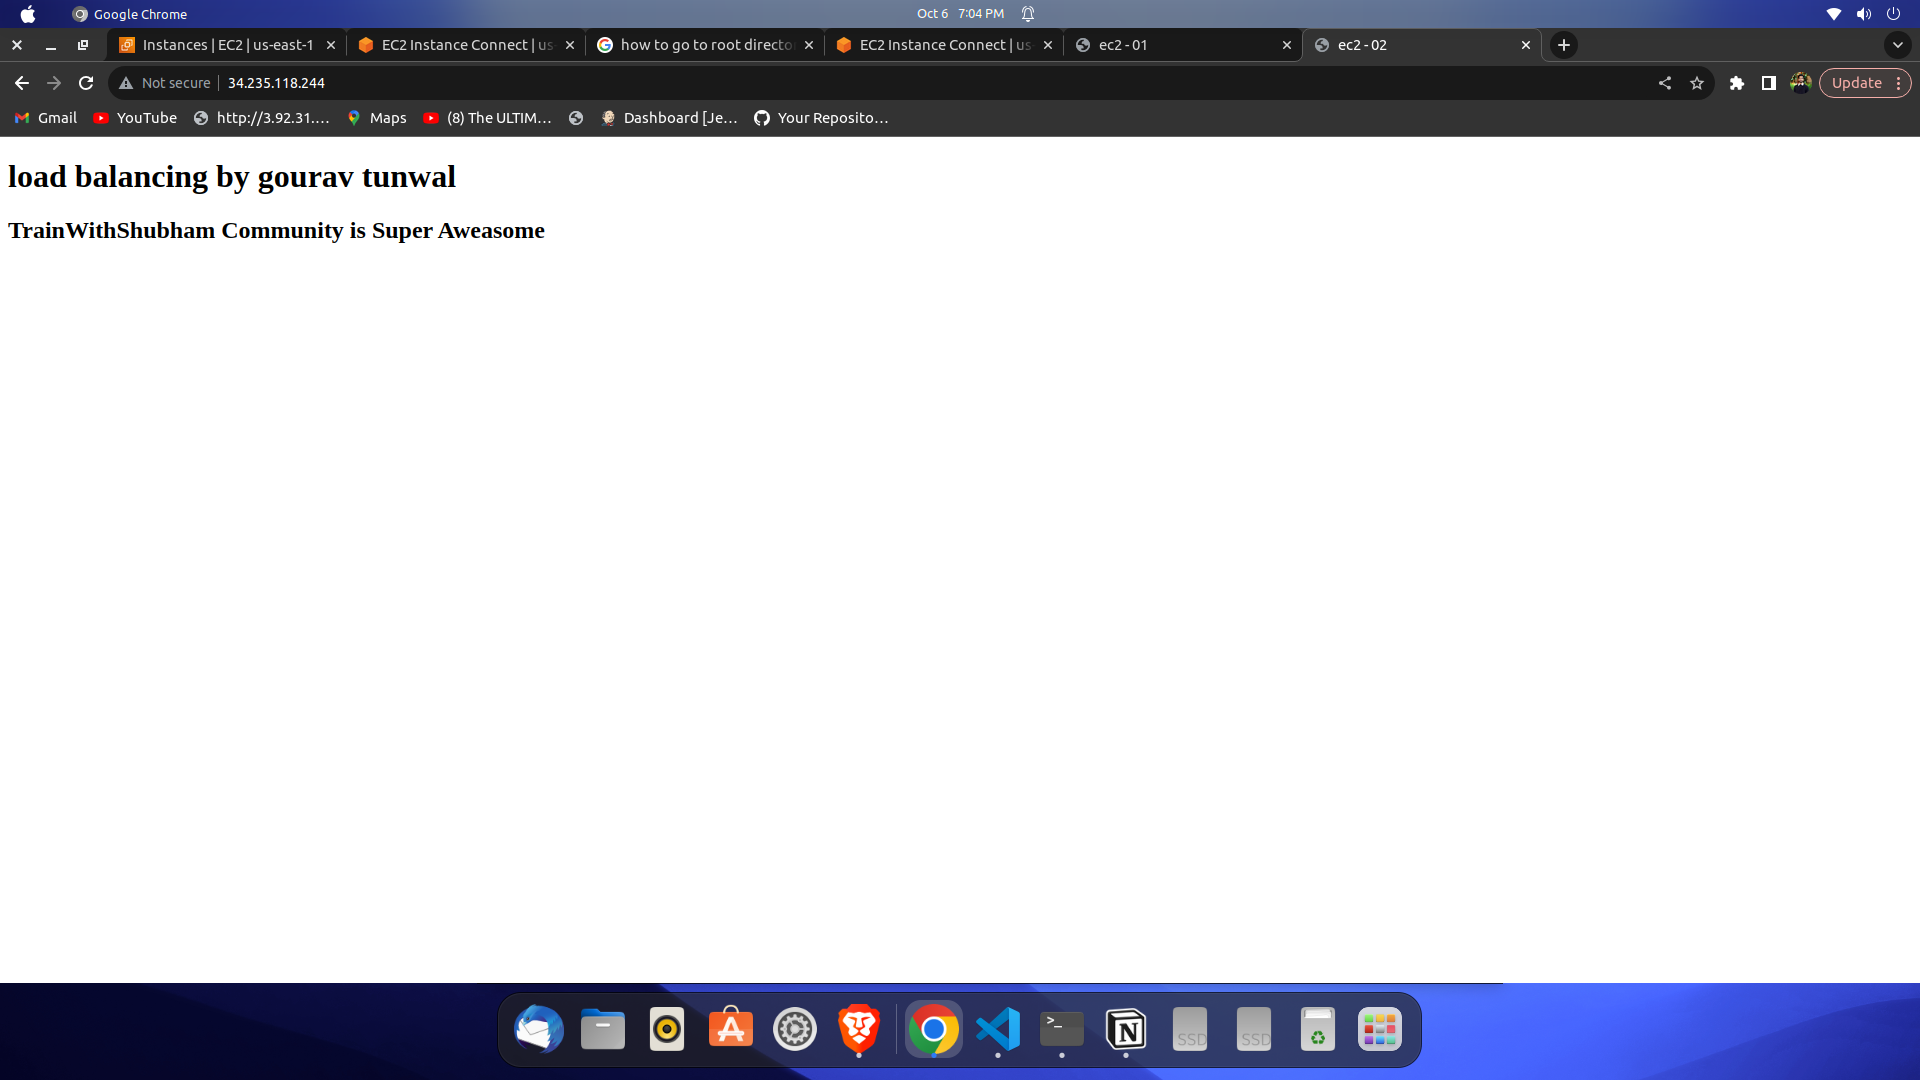
And yay! We have successfully installed the Apache Web server and edited the index.html file.
Task 2:
Create an Application Load Balancer (ALB) in EC2 using the AWS Management Console.
Add EC2 instances which you launch in task-1 to the ALB as target groups.
Verify that the ALB is working properly by checking the health status of the target instances and testing the load balancing capabilities.
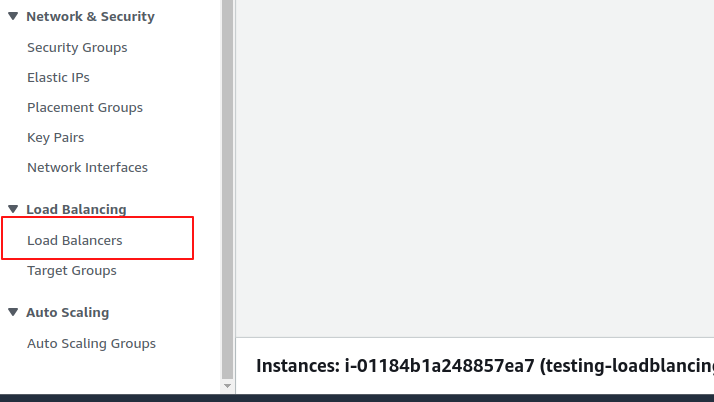
On the left side of the EC2 page, if you scroll down you can see Load Balancers, select it.
Click on Create Load balancer. The following page opens up
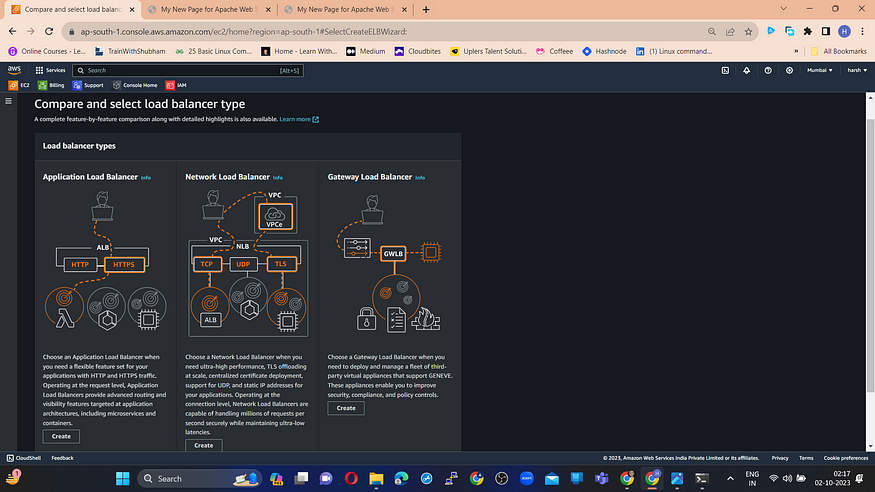
first you need and target group to configure the load blancing.
Click on Create Target groups.
Step 1: Specify group details
Basic configuration: Instances
Target group name: ALB-apache

And click on Next
Step 2: Register targets
Available Instances: Select the instances which you need

Click on Create Target groups.
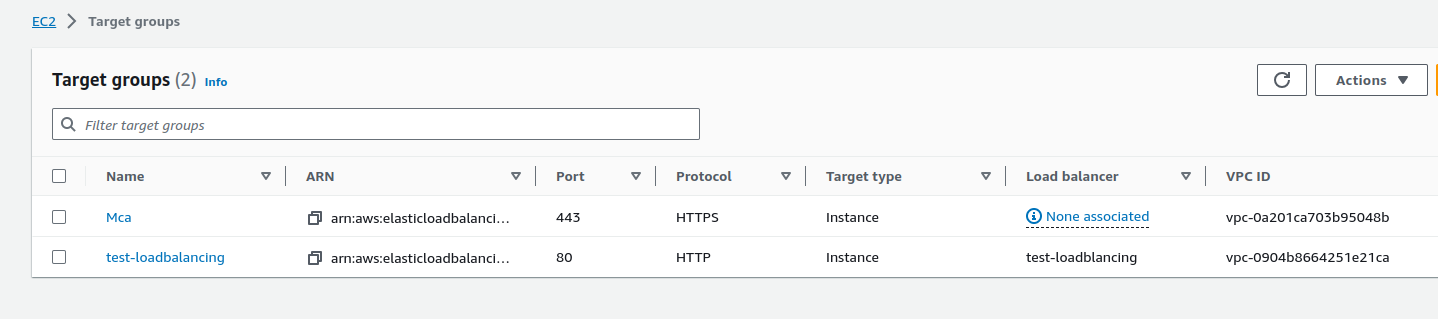
Now create a application load balancer...
Basic configuration:
Load balancer name: PHP-lb
Scheme: Internet Facing (access to public)
Network mapping: Select at least two Availability Zones and one subnet per zone.
Security Group: default will be selected and select the other security groups you require.

Select the target group you just created.
And click on Create Load Balancer.
Once the ALB is in an active state, copy the DNS of the load balancer and access it from your website.
As per the load, we can observe that sometimes Server 1 comes up and other times Server 2 comes up.


and all set we have achieved the load balancing...
it was the day 41 of #90daysofdevops
thanks for reading the blog
keep learning ....spread love in the community


